Remote coding has become one of the most practical ways to diagnose, configure and adapt modern vehicle electronics without visiting a workshop in person.
For Volkswagen, Audi, Škoda and SEAT vehicles, many procedures can now be completed remotely as long as the vehicle is connected to the right diagnostic tools and the technician has access to the system online.
If you have never used remote coding before, the process may sound complicated. In reality, it is usually straightforward when everything is prepared correctly.
In this guide, we’ll explain how remote coding works step by step and what happens during a typical session.
What Is Remote Coding
Remote coding is a process where a technician connects to a laptop or diagnostic computer over the internet and performs vehicle diagnostics, coding or adaptation from another location.
The technician does not need to be physically present at the car. Instead, the vehicle owner or workshop connects the hardware locally, while the specialist handles the software side remotely.
This method is commonly used for:
- module coding
- adaptation procedures
- component protection removal
- fault diagnosis
- retrofit configuration
- online ODIS procedures
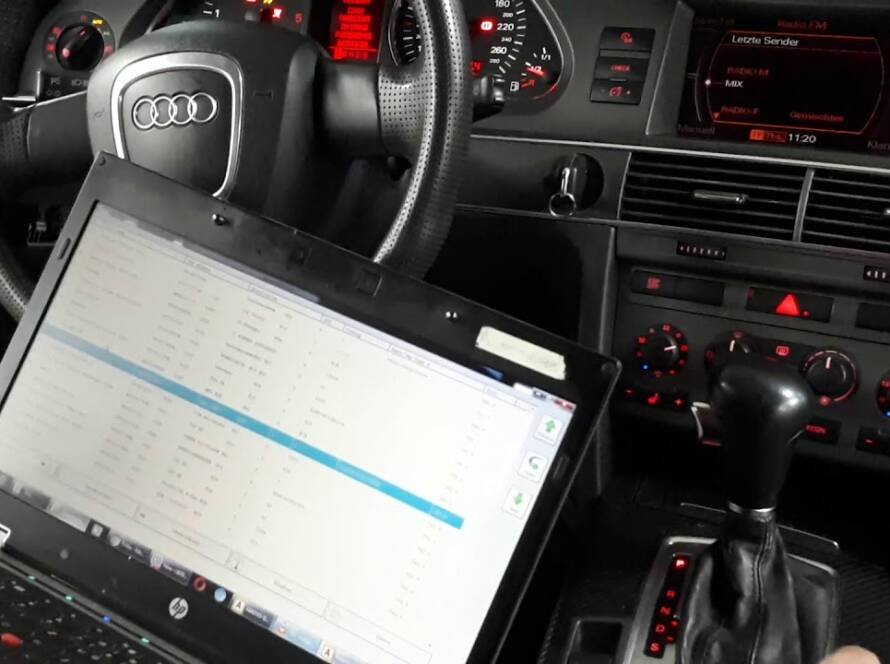
Step 1: Connect the Diagnostic Interface
The first step is to connect a compatible diagnostic interface to the vehicle’s OBD port.
This interface creates communication between the vehicle and the computer. Without it, the software cannot detect the control units or access the vehicle systems.
The OBD port is usually located in the driver’s footwell area, below the dashboard.
Once connected, the interface allows the computer to communicate with the vehicle’s electronic modules.
Step 2: Connect the Laptop or Diagnostic Computer
After the interface is connected to the vehicle, the next step is to connect it to a laptop or workshop computer.
This computer must have the required diagnostic software installed, most commonly ODIS.
In some cases, the setup may also require:
- stable power supply for the vehicle
- reliable internet connection
- remote access software
- correct drivers for the diagnostic interface
This preparation is important because unstable connection can interrupt the procedure.
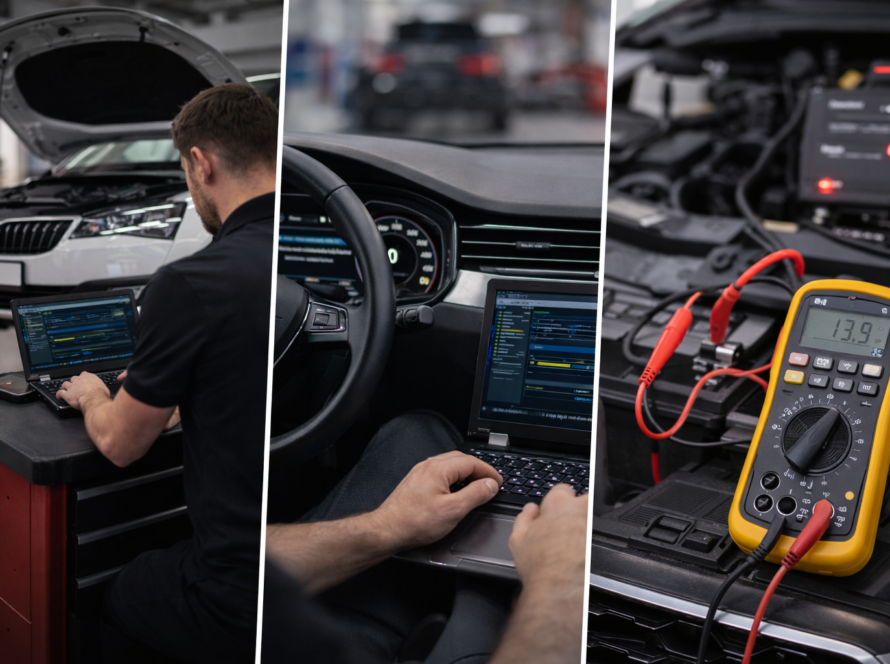
Step 3: Launch the Diagnostic Software
Once the hardware is ready, the diagnostic software is started.
In most advanced Volkswagen Group procedures, this is ODIS.
The software scans the vehicle and identifies:
- installed control units
- communication status
- vehicle information
- current faults or coding state
This initial scan helps the technician understand the vehicle setup before making any changes.
Step 4: Establish the Remote Connection
After the diagnostic software is running, the technician connects remotely to the computer.
This is usually done with software such as:
- AnyDesk
- TeamViewer
Once remote access is established, the technician can control the laptop and work inside the diagnostic software as if sitting in front of the vehicle.
This is the point where the remote session actually begins.
Step 5: Vehicle Scan and Initial Check
Before any coding or adaptation is done, the technician usually performs a quick system check.
This helps confirm:
- communication with all relevant modules
- whether fault codes are present
- if the target module is correctly detected
- whether the vehicle is ready for the requested procedure
This step is important because sometimes the issue is not coding itself, but a communication fault or incorrect installation.
Step 6: Perform the Required Procedure
Once the system is checked, the technician performs the requested work.
Depending on the job, this may include:
- reading and clearing fault codes
- coding a replacement module
- adapting a used control unit
- enabling a retrofit feature
- removing component protection
- updating module configuration
At this stage, the exact procedure depends on the vehicle and the task.
Some jobs are simple and quick, while others require online authorization through ODIS Online.
Step 7: Monitor Communication and System Response
During the coding session, the technician monitors how the vehicle responds to each operation.
This includes checking:
- module communication
- coding acceptance
- system warnings
- successful configuration updates
If something does not match, the technician can stop and verify the setup before continuing.
This is one of the reasons remote coding should be done by someone experienced.
Step 8: Final Verification
After the procedure is completed, the technician performs a final check to make sure everything works correctly.
This often includes:
- rescanning the vehicle
- checking for remaining fault codes
- verifying module communication
- confirming that the new function or module works as expected
This final step ensures the session is complete and the vehicle is ready to use.
How Long Remote Coding Usually Takes
Most remote coding sessions take between 10 and 30 minutes, depending on the type of job.
Simple procedures can be completed quickly, while more advanced operations may take longer.
The time depends on factors such as:
- number of modules involved
- vehicle generation
- internet stability
- whether online authentication is required
What Is Needed for a Successful Remote Coding Session
For remote coding to go smoothly, a few things are essential:
- a compatible diagnostic interface
- laptop with the correct software
- stable internet connection
- properly charged battery or external power support
- correct installation of the replacement module
If any of these are missing, the process may fail or take longer than expected.
Why Remote Coding Is Popular
Remote coding has become very popular because it combines convenience with professional-level diagnostics.
Instead of searching for a local specialist, vehicle owners and workshops can work with experienced technicians remotely.
This is especially useful for advanced VAG procedures that require:
- ODIS
- online coding
- FAZIT authentication
- component protection removal
Conclusion
Remote coding works by connecting the vehicle to a diagnostic interface, running software such as ODIS on a laptop, and allowing a technician to access that system remotely through the internet.
What sounds complicated is usually a simple and efficient process when everything is prepared correctly.
For modern Volkswagen Group vehicles, remote coding has become one of the fastest and most practical ways to complete advanced diagnostic and programming tasks.
Need Help with Remote Coding?
We provide remote coding support for VW, Audi, Škoda and SEAT vehicles.
👉 Module coding and adaptation
👉 ODIS Online procedures
👉 Component protection removal
👉 Fault diagnosis and configuration
Need help? We are here for you. whatsapp: +420773585568 mail: info@odisonline.eu
ODISONLINE.EU